Note From the Editor: This week, Superhero Hype’s special guest cosplay correspondent, Ashlynne Dae, is tackling a Marvel Girl costume that you probably have never seen before. Unlike Savage Land Rogue, this rare Jean Grey costume from Atlantis Attacks hasn’t caught on because she only wore it once in X-Factor Annual #4 over three decades ago. The story in question has rarely been reprinted, and thus it’s largely been forgotten except by hardcore X-Men fans and Marvel Unlimited subscribers.
Regardless, even this obscure bit of trivia has an official name according to Marvel.com: it’s Atlantean Jean Grey. Although Atlantis Attacks Jean Grey would also be a fitting name for it. Within the context of the panel below by John Byrne and Walt Simonson, Jean is a prisoner in Atlantis, courtesy of the warlord, Attuma. Any resemblance between Jean’s costume and a certain metal bikini from Return of the Jedi may or may not be a coincidence.
Hello lovely humans! I have a rather obscure version of Jean Grey to walk you through the making of process today. This was a rather long and complicated build. It took me over 100 hours to complete, which for how little I am covered, I feel is pretty impressive! This is a two-part column, so make sure you come back next week to get the full build process and the official costume reveal!
Let’s get into it!
RELATED: Superhero Hype Cosplay: Elektra
Stay tuned for the second part of this column, where I wrap up the details about the assembly and finishing process with a new in-costume gallery.
In the meantime, enjoy these preview pics of the finished costume!
Patreon: patreon.com/ashlynnedae
Official Site: ashlynnedae.com
Instagram: @ashlynnedae
Twitter: @ashlynne_dae
Fansly: fansly.com/ashlynnedae
Premium Only Fans: onlyfans.com/ashlynnedae
Free Only Fans: onlyfans.com/ashlynnedaefree
Photographer Credit:
Happy Trigger LA
Instagram: @happytriggerla
Only Fans: onlyfans.com/happytrigger
Atlantean Jean Grey Part 1
-
Atlantean Jean Grey Part 1 #1
All the pourables I used to create this costume were Smooth On products. This project wasn’t sponsored by them in any way, I just really love how reliably their products perform and how easy they are to use without a pressure pot or any specialized equipment.
If you intend to use any of these products for your own projects, please be sure to read all the instructions carefully, as some of these chemicals can be toxic if used improperly!
To start, my initial idea was to make this costume out of real shells, but after painting them all gold and looking at them, I didn’t love how they were looking and was worried about them being too fragile and breaking.
Instead, I decided to make the shell portions of her outfit out of Dragon Skin silicone. This would allow the costume to stretch and move with my body, I wouldn’t have to worry about breaking anything, and it would be way more comfortable.
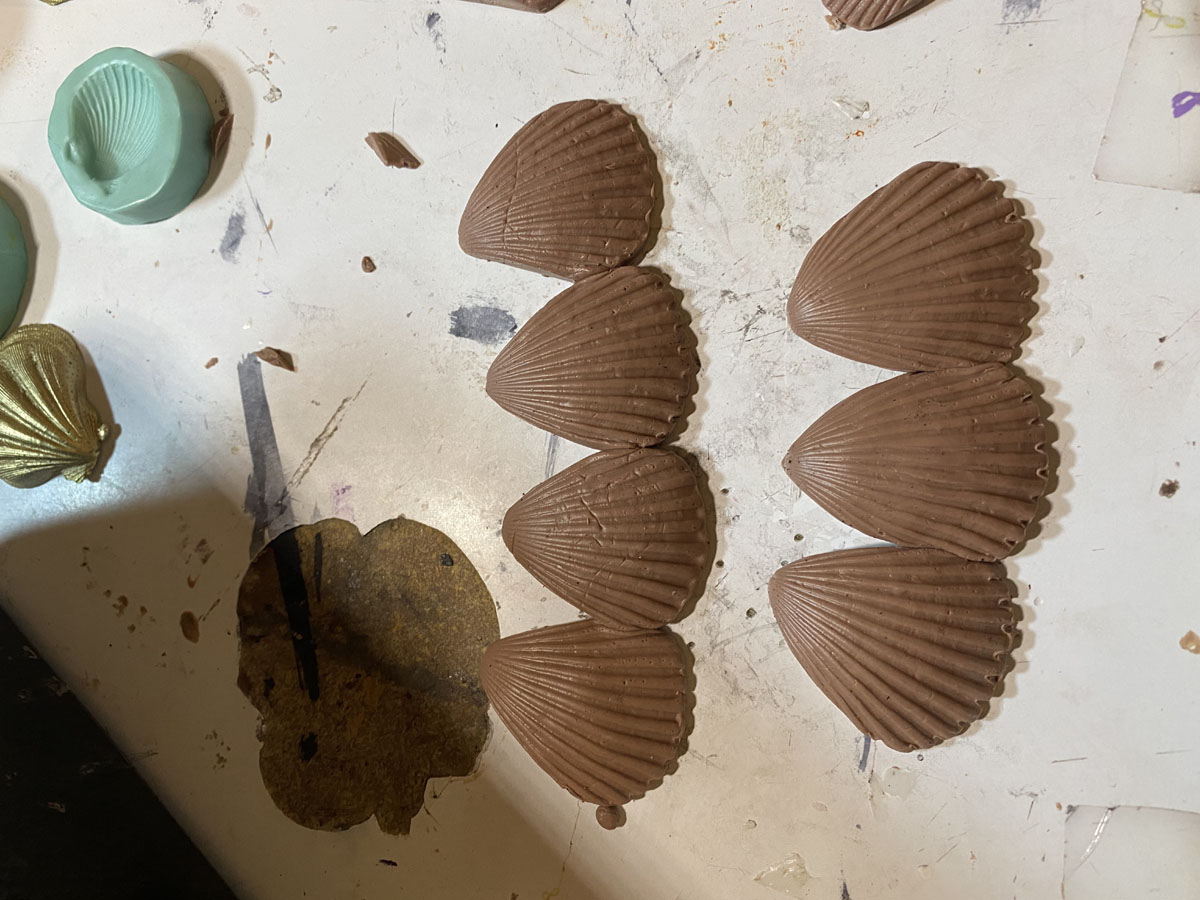
I set about making my molds. Now, silicone can bond to silicone when it cures, so I couldn’t use silicone molds to make the actual silicone finished pieces. Instead I used Monster Clay to create positive sculpts to make a new mold from resin.
Monster Clay is a non-sulfur modeling clay used to sculpt prosthetics and FX props and such as it doesn’t react to the silicone while it's curing. I heated up the clay until it was liquid and pourable (you shouldn’t heat it past 170 degrees!) and poured it into some seashell silicone candy molds I found on Amazon.
-
Atlantean Jean Grey Part 1 #2
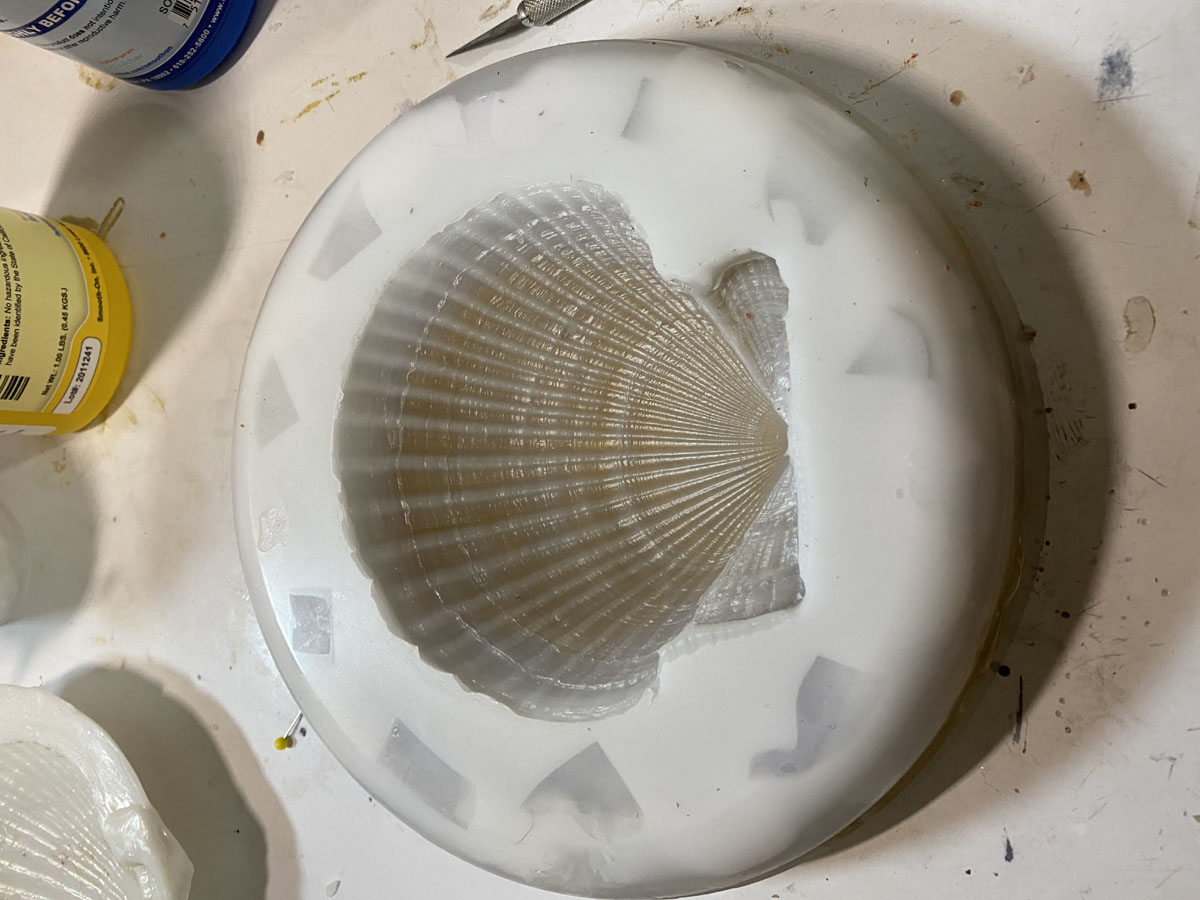
I didn’t make a mold of the smaller shells I already have because I didn’t think they were symmetrical enough for what I was going for. However, for the three larger shells I needed for the bra and belt, I made a mold of one of the largest real shells I had left over using Smooth On’s Mold Star.
I used Mold Star first because I needed the mold to be flexible to be able to remove the clay intact once it solidified, as that would be the positive used to make the resin negative. If I had just tried to mold the shell directly with resin, I most likely would have gotten it stuck and made an unusable mold, or would have to break the shell into pieces to remove it. And that seemed like a waste!
This project was mostly me making about 100 different molds. Once I had all my individual smaller shells molded from the clay, I then sculpted them to my desired shapes and formed them together to make the various lengths I would need for the costume pieces.
I needed 6 longer chains for the bra top and shoulder piece, the belt pieces, the armband, and the headdress, and 12 smaller ones for the arm bands and shoes, and a bunch of individual pieces for dimension and decoration.
Once all the clay pieces were prepped, I could set about making the resin negative molds.
-
Atlantean Jean Grey Part 1 #3
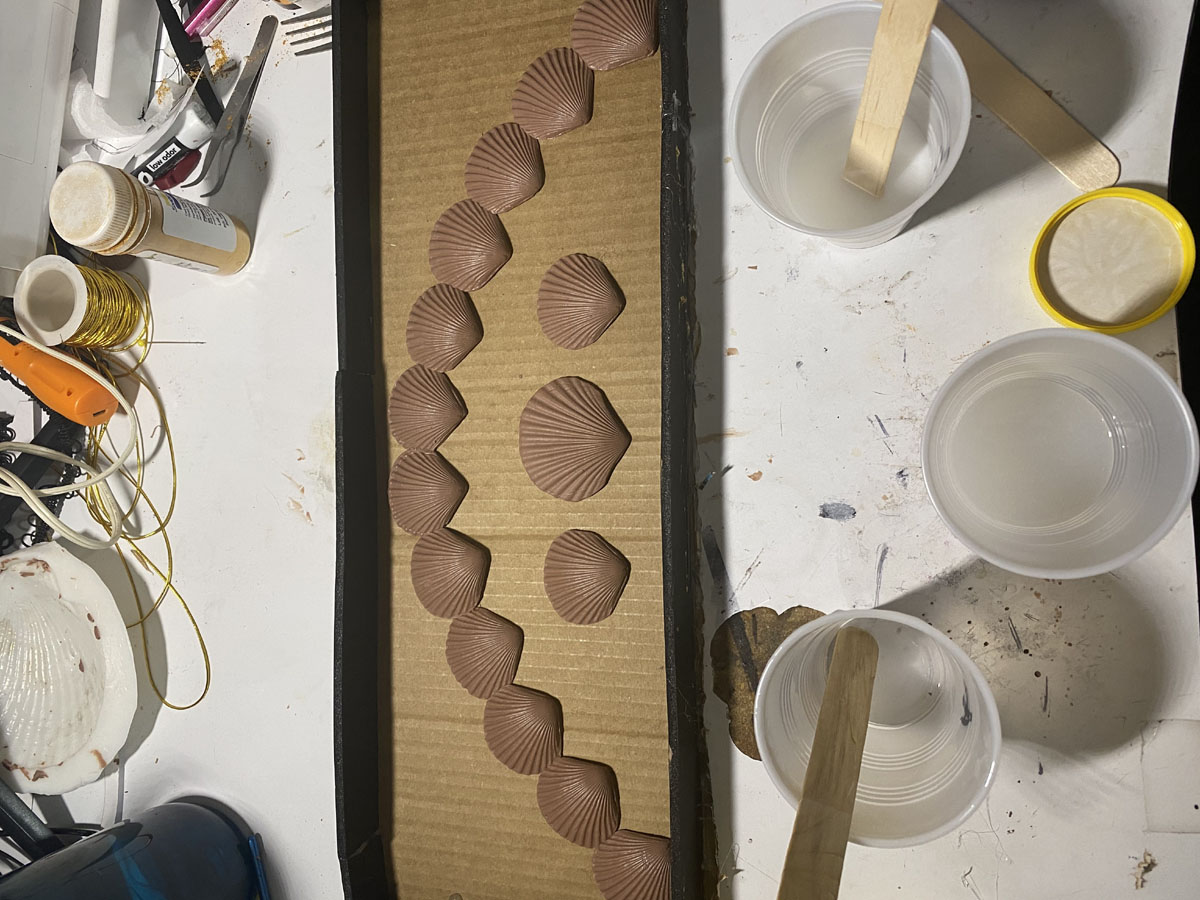
I chose to use Smooth Cast 300 and 325 for my final negative molds, because again, I didn’t want to risk the silicone I was using for the final pieces bonding to another silicone mold, and because the silicone is flexible and can be easily demolded, the mold can be rigid.
I usually keep some of the quickest curing versions of Smooth Cast stocked in my craft supplies, so I first used what I had on hand and then what I could get quickly shipped, as I hadn’t been vaccinated yet when making this and I didn’t want to risk going into a shop to pick more of the same resin up. There’s no other reason as to why I used two different types.
Now, I’m highly allergic to resin, and only developed the allergy after working with it without adequate protection for too long. So don’t be like me and make sure you wear protection when working with all solvents and chemicals! Otherwise, you’ll have to craft looking like a hazmat worker, as I must.
-
Atlantean Jean Grey Part 1 #4
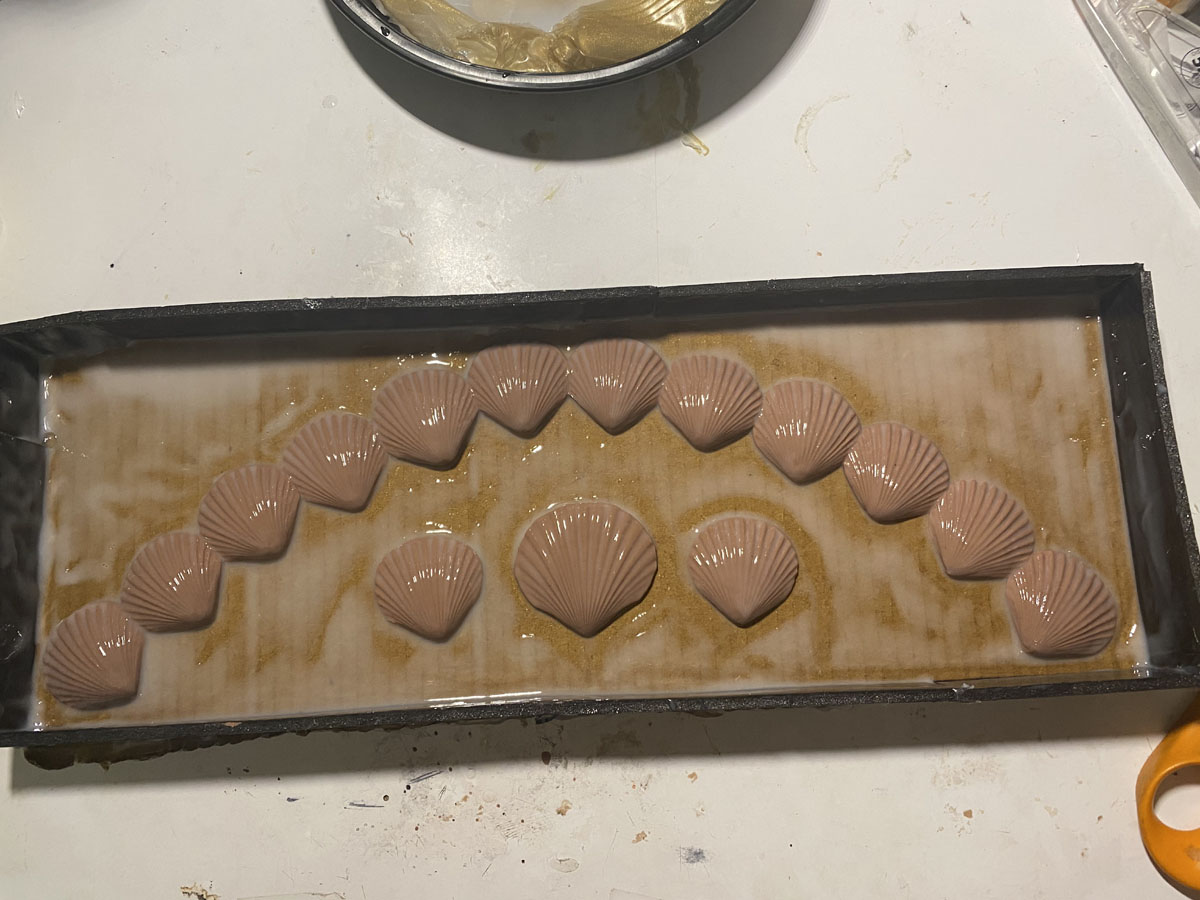
I used foam core and cardboard when I ran out of the foam core to make my mold walls and base. You simply need to take some strips of board and hot glue the outside edges of the strips to form a seal around your base, and hot glue the item to be molded onto the base to keep it in place.
Once it's all glued, you must seal the mold somehow, otherwise the resin will stick to the base and clay. Trust me when I say this is vital, as I forgot to seal while making one of the molds and I had to toss the whole thing out!
-
Atlantean Jean Grey Part 1 #5
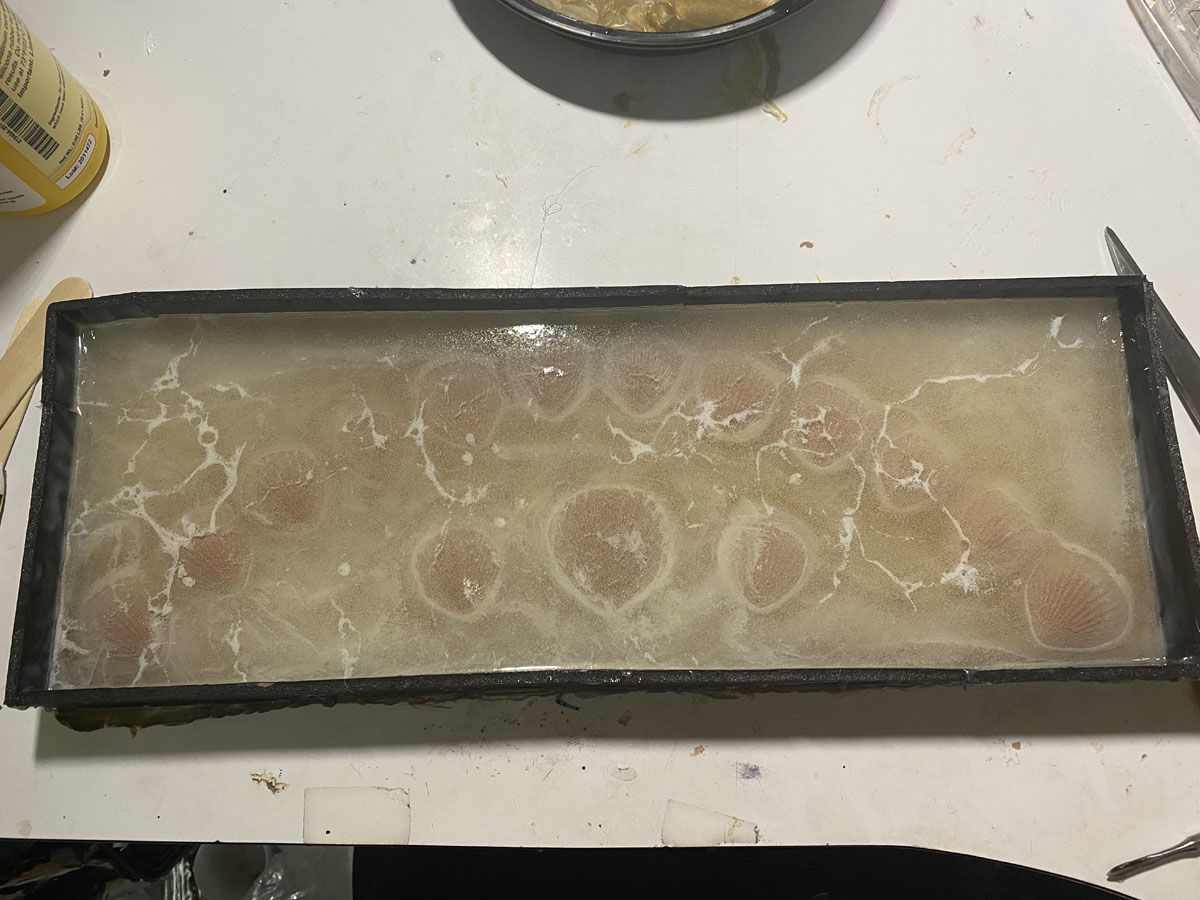
I used a super thin layer of Mold Star silicone to seal my mold, painting it into the cracks and crevices, and waited for it to cure before pouring my resin into the mold.
After it cured, I demolded my clay and silicone seal, not needing to worry about preserving the clay anymore as its job was done, and removed the base and boarders from the molds.
I dremeled any sharp edges on the molds to prevent my gloves from getting snagged and potentially slicing any fingers because resin edges can be sharp and I would be handling them a lot.
All of this curing takes a long time, even when you use the quickest curing resins and silicones so patience and good podcasts are a must!
-
Atlantean Jean Grey Part 1 #6
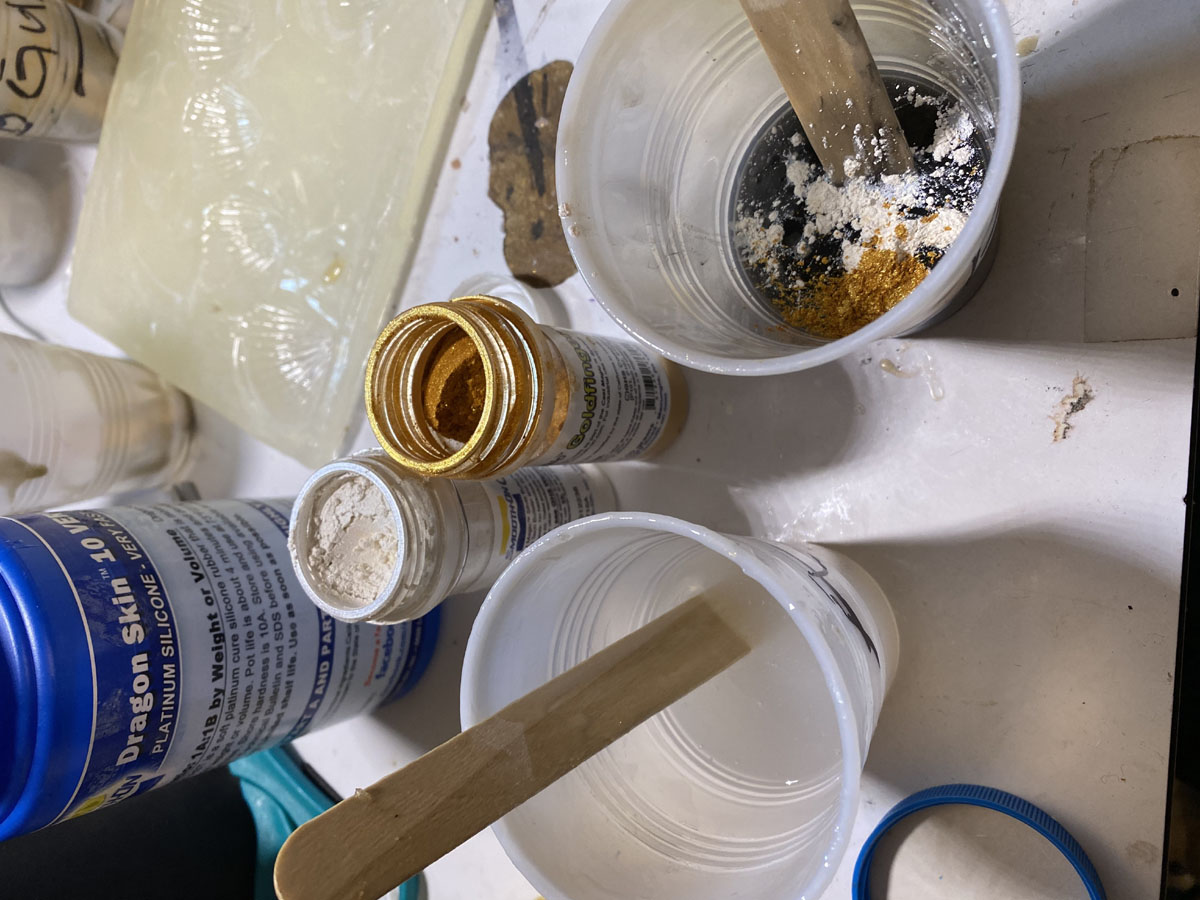
We’ve come to the point where I could actually make my final pieces and begin assembly.
I used Dragon Skin 10 FAST and VERY FAST, along with Slic Pig black pigment to make the metallic Cast Magic powders pop and give it color.
I used Cast Magic in Gold Finger for all the gold pieces and Cast Magic in Silver Bullet with just a touch of Gold Finger for the larger bra and belt shells, which have a more silvery hue.
-
Atlantean Jean Grey Part 1 #7

When mixing pigments in with silicone, it's important to mix them thoroughly into the B solution before adding the A solution, as the pot life for these silicones is only a couple of minutes.
Once you have the color you desire, write down your ratio so you can get a consistent color on each pour. Then pour your silicone mixture into your resin molds.
-
Atlantean Jean Grey Part 1 #8

For the bra cups, I needed to add a curve so they would fit to the body, so I filled them about two thirds of the way full, and as they were curing, I placed a failed version of the large shell mold made of thermoplastic, and it gave the perfect interior shape without overflowing. But anything with a similar curve will work.
If I was able, I would have created a two-part mold for the bra cups, but time and materials said no to that idea!
-
Atlantean Jean Grey Part 1 #9
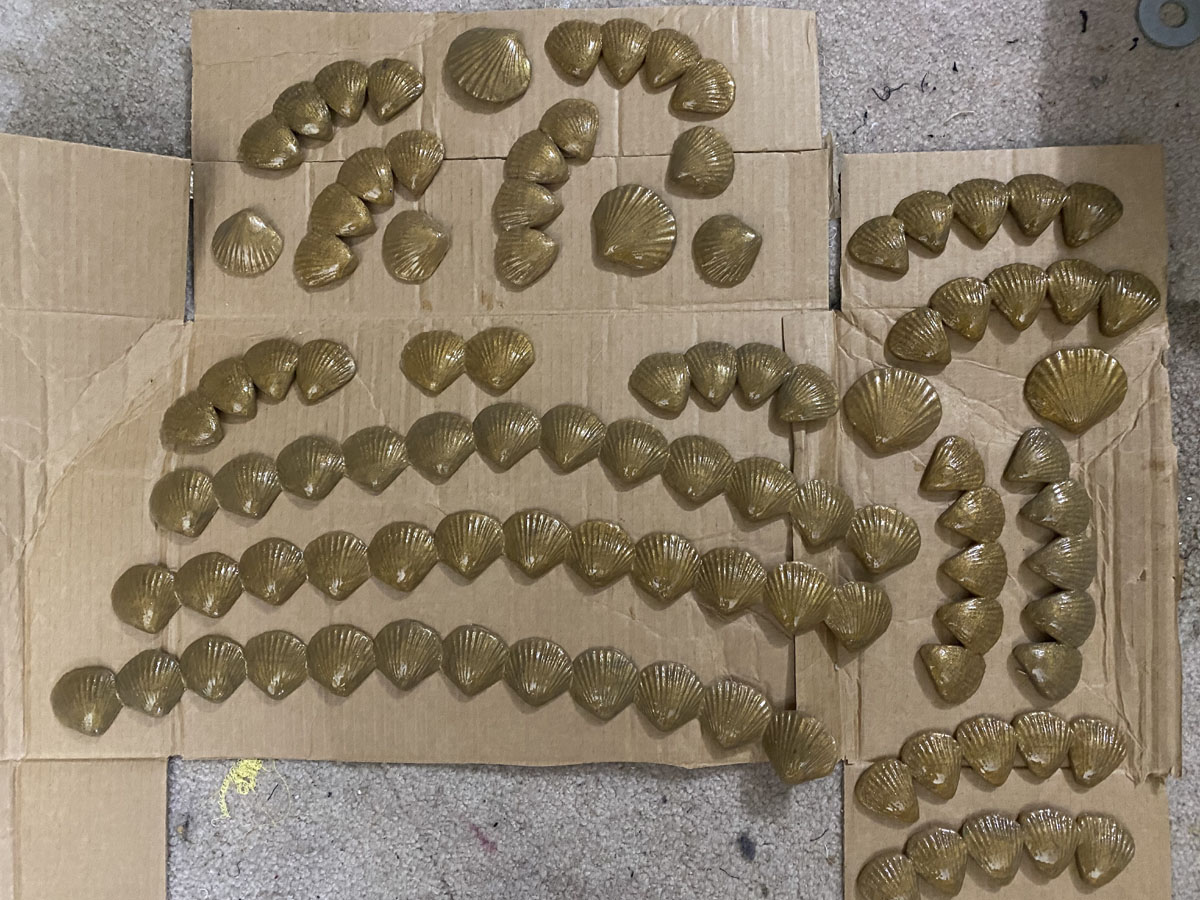
Another quick tip on how you can get a decently accurate measurement of how much mixed silicone you will need to fill a mold is to fill the mold with water and pour it into a measuring cup, then halve whatever your volume ends up being. That way you will know how much you’ll need of both part A and B and will have much less waste as silicone is super expensive.
Just in case it may be a good idea to have another thing you might need or want to mold if you end up miscalculating a little. I made my Mera bracelets with leftover silicone from this project. So you never know!
-
Atlantean Jean Grey Part 1 #10

Any extra or excess cured silicone you should save too, as you can use them in chunks when making new molds for other projects to help fill volume and use less new silicone, or pour into sheets to make patches.
So don’t trash it if you have a bad pull or extra left in your mixing cup!
Before I could do anything else, I had to make sure all my silicone pieces had nice clean edges. When you pour your silicone sometimes a bit of a overflow can occur, but you can just trim of the excess with an Exacto knife.
I had to do this on nearly all of the pieces because my edges were thin and the mold didn’t have the most defined borders. But that’s okay! Once I had them all cleaned up, I could start the assembly process.
-
Atlantean Jean Grey Part 1 #11

Now, it should be mentioned that you can’t glue silicone using “normal” glues like superglue or rubber cement, as it will just slip off. But you can use more silicone or silicone adhesive to adhere silicone to silicone, or silicone to fabric.
I used Smooth On’s silicone adhesive to glue all of my bits together, ensuring each joined area was scored with an Exacto knife for best adherence, and then gave any piece that was going to hold tension a silicone patch with some new silicone poured over thin silicone sheets that I made when I had a little left over in my mixing cup from previous pulls.
I built the shoe pieces by layering the smaller curved pieces together, and adding some individual shells on the top for dimension.
-
Atlantean Jean Grey Part 1 #12

I assembled the bracers by lining three of the shell strips up and aligning them in a triangle shape, attaching each joint with silicone patches, and gluing a larger individual shell at the top for the hand piece.
I used silicone patches to attach some gold leather strips for lacing onto the bracers, and to the shoe piece at the back and toe where it would lace into the sandals.
-
Atlantean Jean Grey Part 1 #13

For the bra, I used the patch method to attach one long shell strip to each shell cup at the sides, and a smaller strip of two shells for the center front, which I molded from the larger shells strips, but only filled two of them to get the same shaped shells as the rest.
-
Atlantean Jean Grey Part 1 #14

I gave basically the same treatment to the belt, minus the middle join of course.
-
Atlantean Jean Grey Part 1 #15

I added some jump rings into the bra and the shoulder piece to string the shoulder ties through using patches for strength and used the adhesive to attach a gold elastic and hook combo for a closure at the back.


